Occasionally gates need to be synchronized: When the position of the CD4+/CCR5 gate is improved so should the CD4+/CD154+/CCR5 gate. Manual copying is cumbersome, error prone and immensely boring when working with larger studies. This tool aims to automate this mindless task.
GateSync can be downloaded here: https://mpc-owncloud.phc.ruhr-uni-bochum.de/s/yYtH6fQ8mzFfLae
The tool works with the FlowJo workspace (*.wsp) only, and since the file definition occasionally change, the tool might stop working after an update. The tool simply copies the internal gate definition, which potentially can lead to a corrupt file – a backup of the original file is therefore created in a sub-directory to the directory where the FlowJo workspace is loaded from.
Getting started
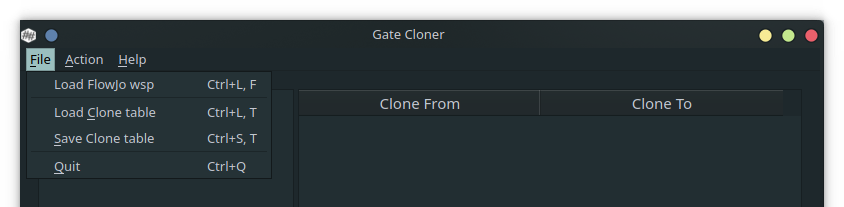
The FlowJo workspaces where the gates should be synchronized are loaded using the file menu ‚File > Load FlowJo wsp‚. The file picker can also be activated through the short cut ‚Ctrl+L, F‚ (L for load, F for FlowJo).
A table giving the gates to be synchronized and the targets can be loaded using the file menu ‚File > Load sync table‚. The file picker can also be activated through the short cut ‚Ctrl+L, T‚ (L for load, T for table).
Define synchronization pairs
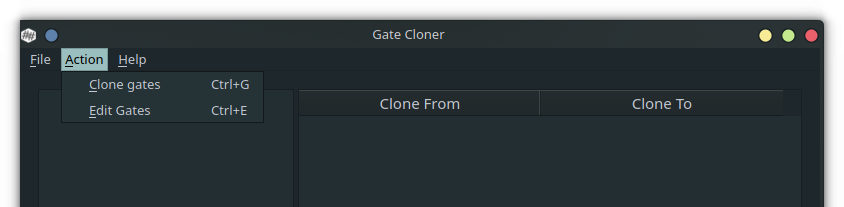
If a table giving the from:to gate combinations to synchronize is not defined, a new one can be created. To open the gate editor, to go ‚Action > Edit pairs‚ (short cut: ‚Ctrl+E‚) or press the button ‚Edit pairs‘
The Edit Synchronization Pairs dialogue opens. The window consists of three parts:
- Upper left: A gating tree of the gates to synchronize from.
- Upper right: A gating tree of the gates to synchronize to.
- Bottom: A table giving the gate combinations of
from:tosynchronization pairs.
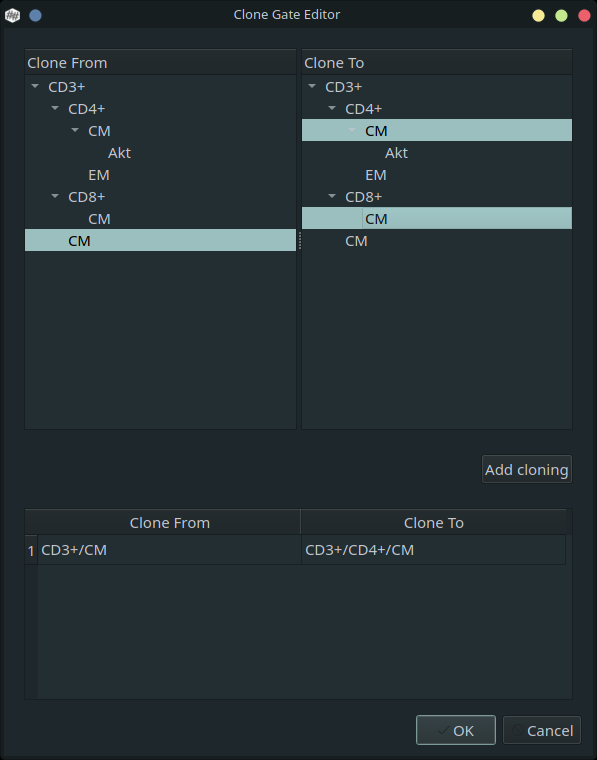
To add a synchronization combination, select a gate in the ‚From gating tree‘, select one or more target gates in the ‚To gating tree‘, and press the button ‚Add pair‘. When all desired gating combinations have been added, press the button ‚OK‘
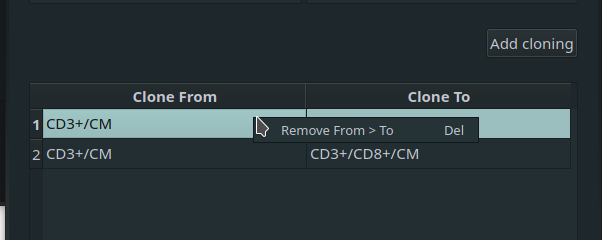
Should a wrong combination be added, it can be removed by selecting the combination in the table and through the context menu or the ‚Del‚ button, it can be removed.
Save the synchronization pairs
The created synchronization table can be saved for later use through the file menu ‚File > Save Clone table‚. The file picker can also be activated through the short cut ‚Ctrl+S, T‚ (S for save, T for table).
The table is a simple tab-separated file with the column names ‚From‘ and ‚To‘. Each additional line gives the full gating paths of the from:to synchronization pairs. An example is
| From | To |
| CD3+/CM | CD3+/CD4+/CM |
| CD3+/CM | CD3+/CD8+/CM |
from:to synchronization pairsSynchronize gates
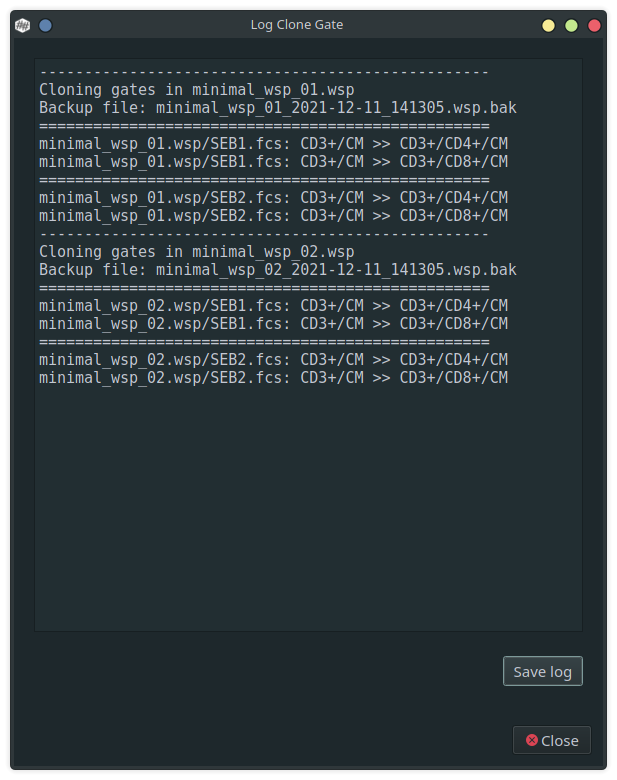
When the desired FlowJo workspaces have been loaded and the cloning has been defined, the actual cloning can be initiated by pressing the button ‚Sync‘ or via the menu ‚Action > Sync gates‚ (short cut: ‚Ctrl+G‚).
The process creates a backup of the original file. The file is given a timestamp and is located in the directory _gs_backup/[yyy-mm-dd]/, which is a sub-directory to the directory where the FlowJo workspace lives. After the backup, the actual synchronization of the gates is performed and the original workspace is overwritten. The entire process is available in the opened progress window. Depending on the files and the gates it might take some time to complete.
When all gates have been synchronized, the workspaces can be opened in FlowJo and the values of the gates exported. It is probably a good idea to recalculate the gates before exporting any values from FlowJo.
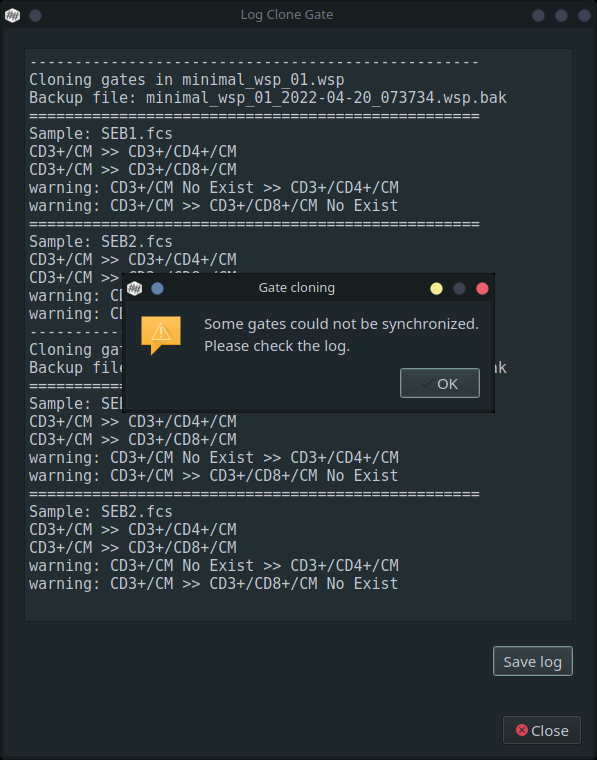
Missing gates
GateSync does not respect FlowJo Groups and assumes that all gates are present in all samples. If either the gate to synchronize from or the gate to synchronize to does not exist in a sample, GateSync will notify of this and the offending from:to gate pair will be highlighted in the log by the keyword ‚warning‘.
Save the progress log
The progress log can be saved for future reference by pressing the button ‚Save log‘ in the progress window, and selecting a file to write to. Alternatively, the progress log can also be saved using the file menu ‚File > Save sync log‚ or the short cut ‚Ctrl+S, L‚ (S for save, L for log).
